Single Part Raspberry Pi Compute Cluster
My Raspberry Pi's are some of my favorite devices that I own. Their versatility cost and ease of use have allowed me to implement them into a wide range of projects and learn a lot about computing.
One area I had never ventured however was the idea of clustered computing. Making a compute cluster out of Raspberry Pi's had always seemed like a popular project that people do but I personally had never seen a use for one.

However, after watching some videos by Jeff Geerling I was interested. Luckily enough I just so happened to have 4 Raspberry Pi 3b+'s that currently had no use. After doing some research the consensus came to be that Pi 4's are recommended for making clusters and 3's might be a bit slow but I'm mostly doing it as a learning experience as opposed to a necessity.
Looking at the designs people have made previously for Raspberry Pi clusters I was disappointed to see that the actual mechanical design of the enclosures/lack-thereof was quite lacking in my opinion so I wanted to make my own. I tasked myself with designing a new enclosure satisfying these requirements.
- Tool-less install of the Raspberry Pi's
- Streamlined power delivery (No big micro-USB cables)
- 3D printable with as few parts as possible
- Integrated network switch and active cooling
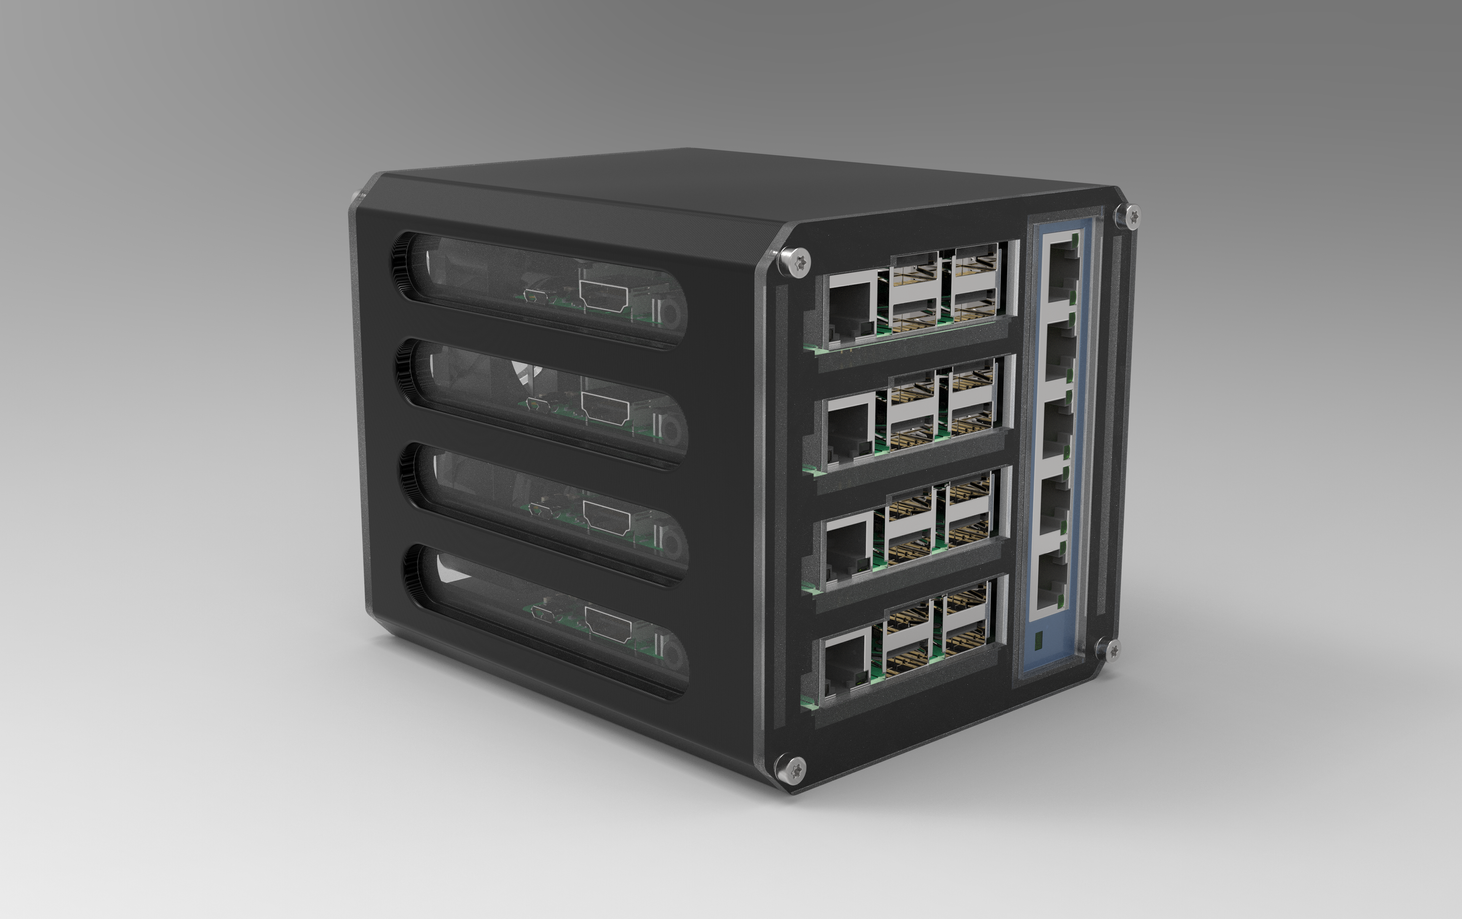
Here is the final design that I came up with. The view below is draggable to see the full model.
The center black component is designed to be 3D printed without supports with integrated tool-less clips to firmly hold all of the Raspberry Pi's without any hardware. The panels around the 3D printed part are designed to be laser cut out of 3mm acrylic and provide mounting for the fans and power delivery components.
One of the things I was worried about in having such a confined enclosure for the Raspberry Pi's was the port accessibility if I ever needed to use the HDMI ports for some reason. That is why I implemented the slots into the sides of the design. Not only do they aesthetically look cool if you side the acrylic panel out the back of the part they are perfectly lined up with the ports on the side of all the Raspberry Pi's so if needed I can still use those ports without having to ever take out any of RPI's.
On that note, some may notice that the traditional way that the Pi's receive power, the micro USB port on the side of the PCB, would be completely inaccessible in its current state. One solution that many have used online is to power the Raspberry Pi's through the 5v GPIO headers as they can actually take a power input. While this would work and would be pretty easy to implement, one of the downfalls of powering the Pi's directly from the 5v line is that your input voltage does not go through any of the filtering or reverse polarity protection that it would when powering over USB.
As I don't trust myself enough to risk 4 Raspberry Pi's at once I needed a better solution. After doing some research and probing with my multimeter I concluded that there are actually a couple of pads on the PCB below the USB port for 5v and GND. These are where the USB port actually connects to the PCB so you still retain the filtering and protection.

Although soldering directly to Pi's seems like a much more drastic measure to take I thought that it was worth the risk and that it was the solution that I ended up going with.
Next, I needed to tackle the cooling. Admittedly, this is where I went a bit overkill. I initially wanted to use the NF-A4x20 PWM fans by Noctua.

However, at almost $15 each, $30 for cooling 4 $30 computers just didn't really make a lot of sense. Then I came up with a different idea. As the length of the network switch afforded me extra room between the Pi's and the back of the cluster, the fans that I chose could be quite thick. This led me to pick 40mm server fans to use in the design.

After they arrived I was disappointed to find out that the reviews of the fans being unbearably loud were true after some preliminary testing. However, they did push an unimaginable amount of air for their size so I decided to come up with a solution to tackle the noise.
My first idea was to hook up the PWM headers on the fans to the extra GPIO headers on one of the Raspberry Pi's and control it through temperature but that quickly became too far out of my element and probably out of the scope of the project. I decided to do the fan control the old-fashioned way by manually adjusting the voltage of the fans. To accomplish this I used a LM2596 Buck converter to limit the input voltage to the fans thus limiting the noise.

After some testing, I concluded that the optimum level for the fan speed was setting them to just 3 volts! Normally I would think that the fans wouldn't even be capable of spinning 9 volts under their rating but not only did they spin, when they were mounted into the enclosure I could feel a steady stream of airflow even through the USB ports.
Putting everything together
Now that all the systems have been explained it's finally time to show off what it looks like put together.
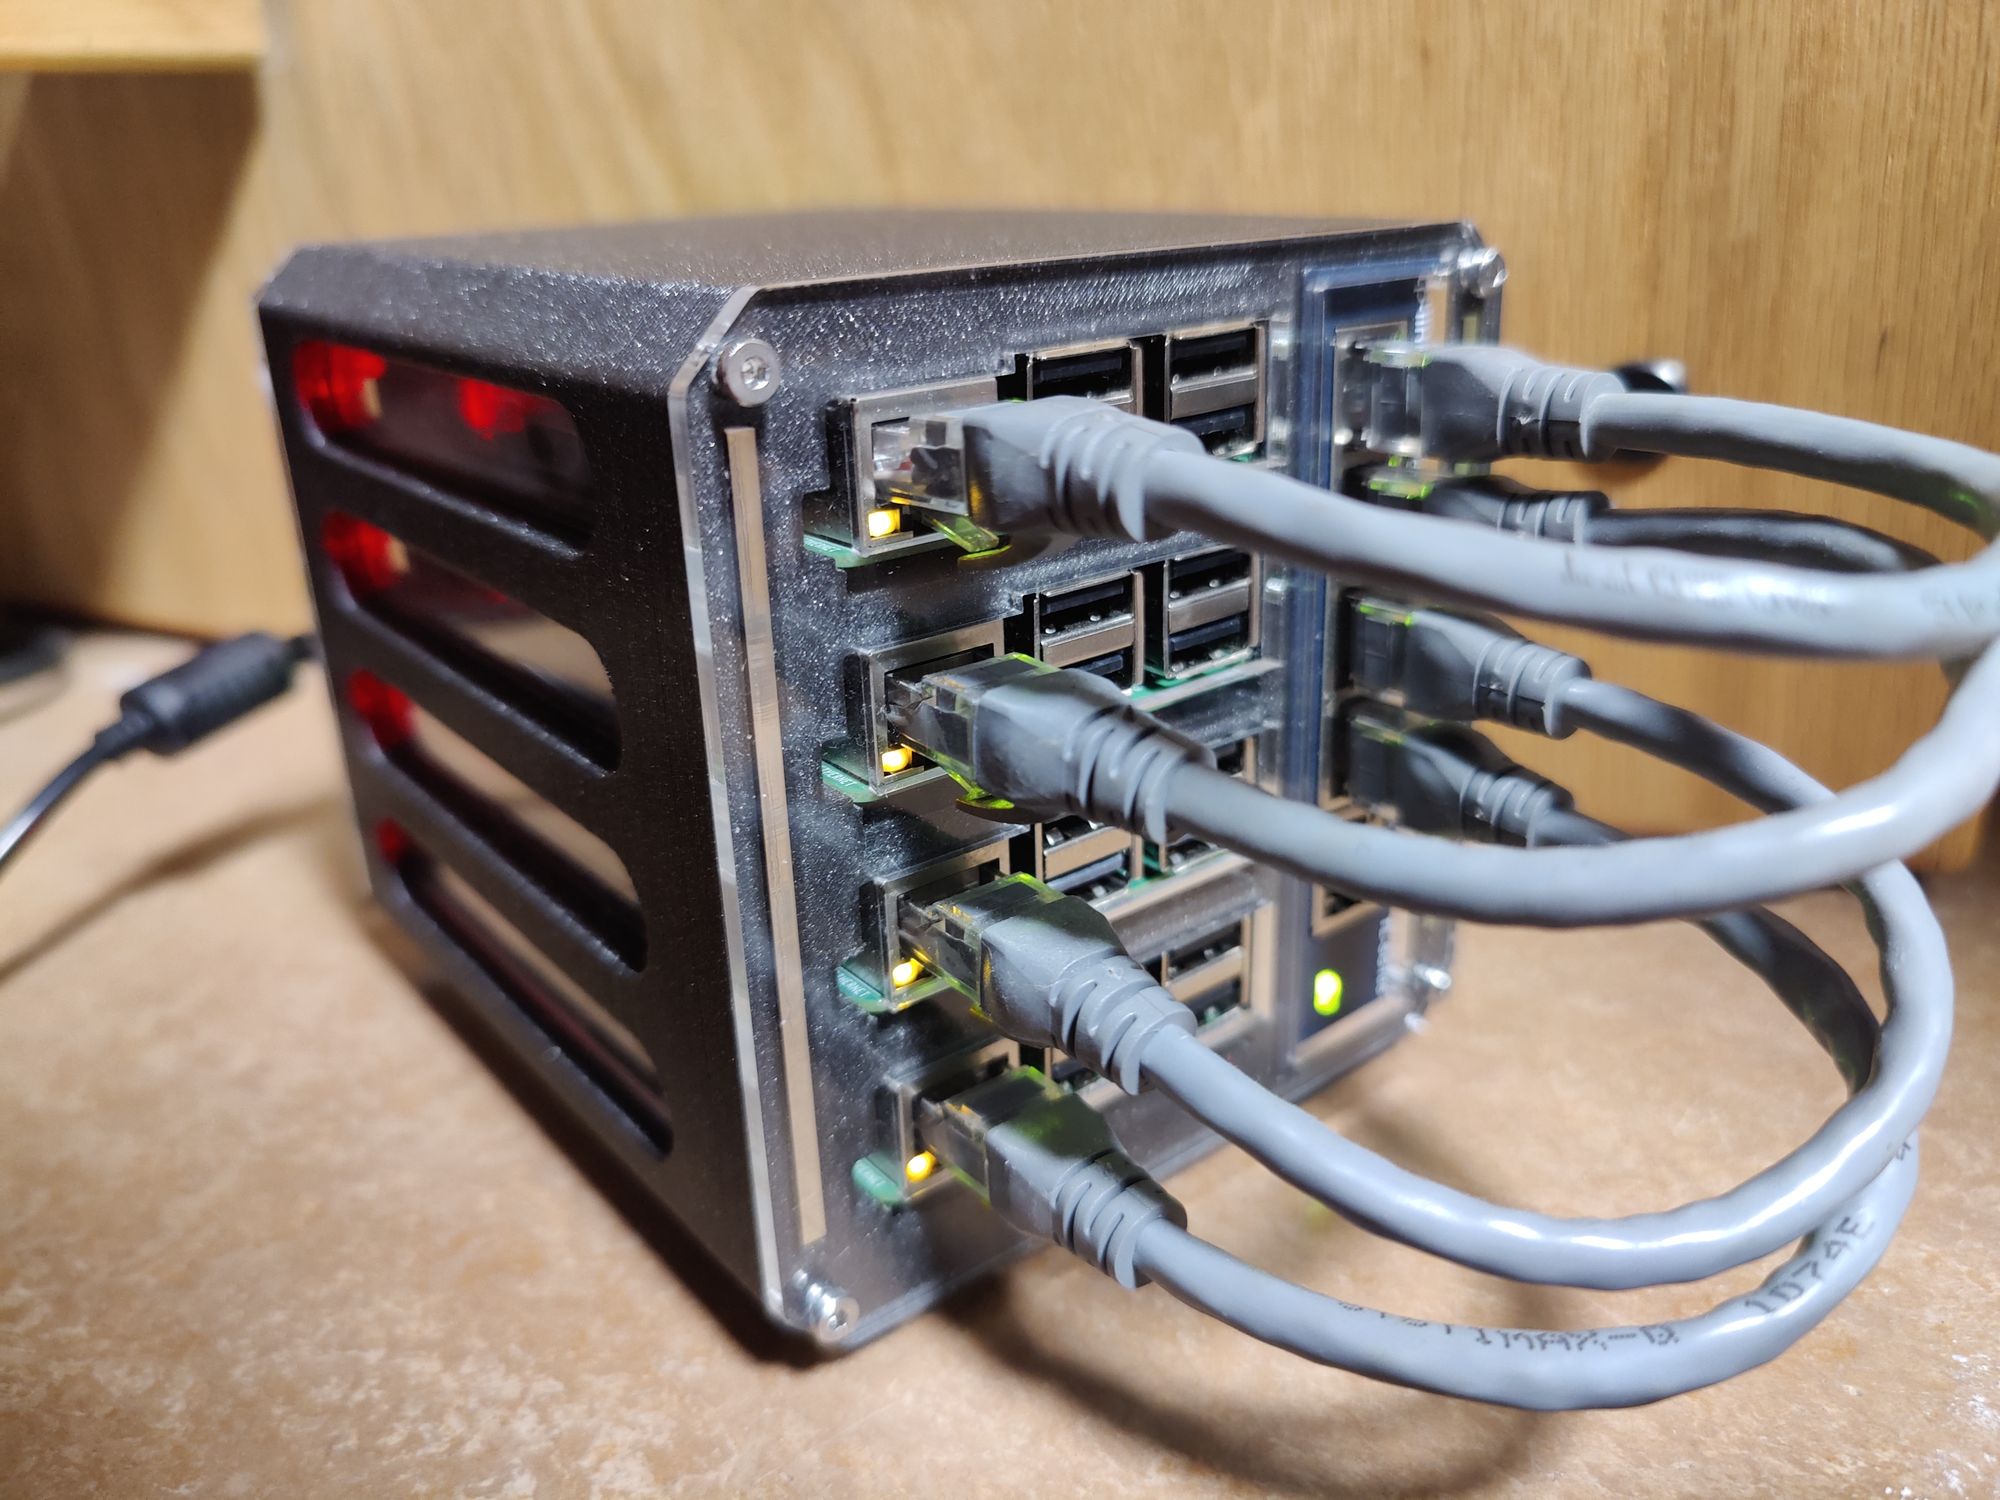
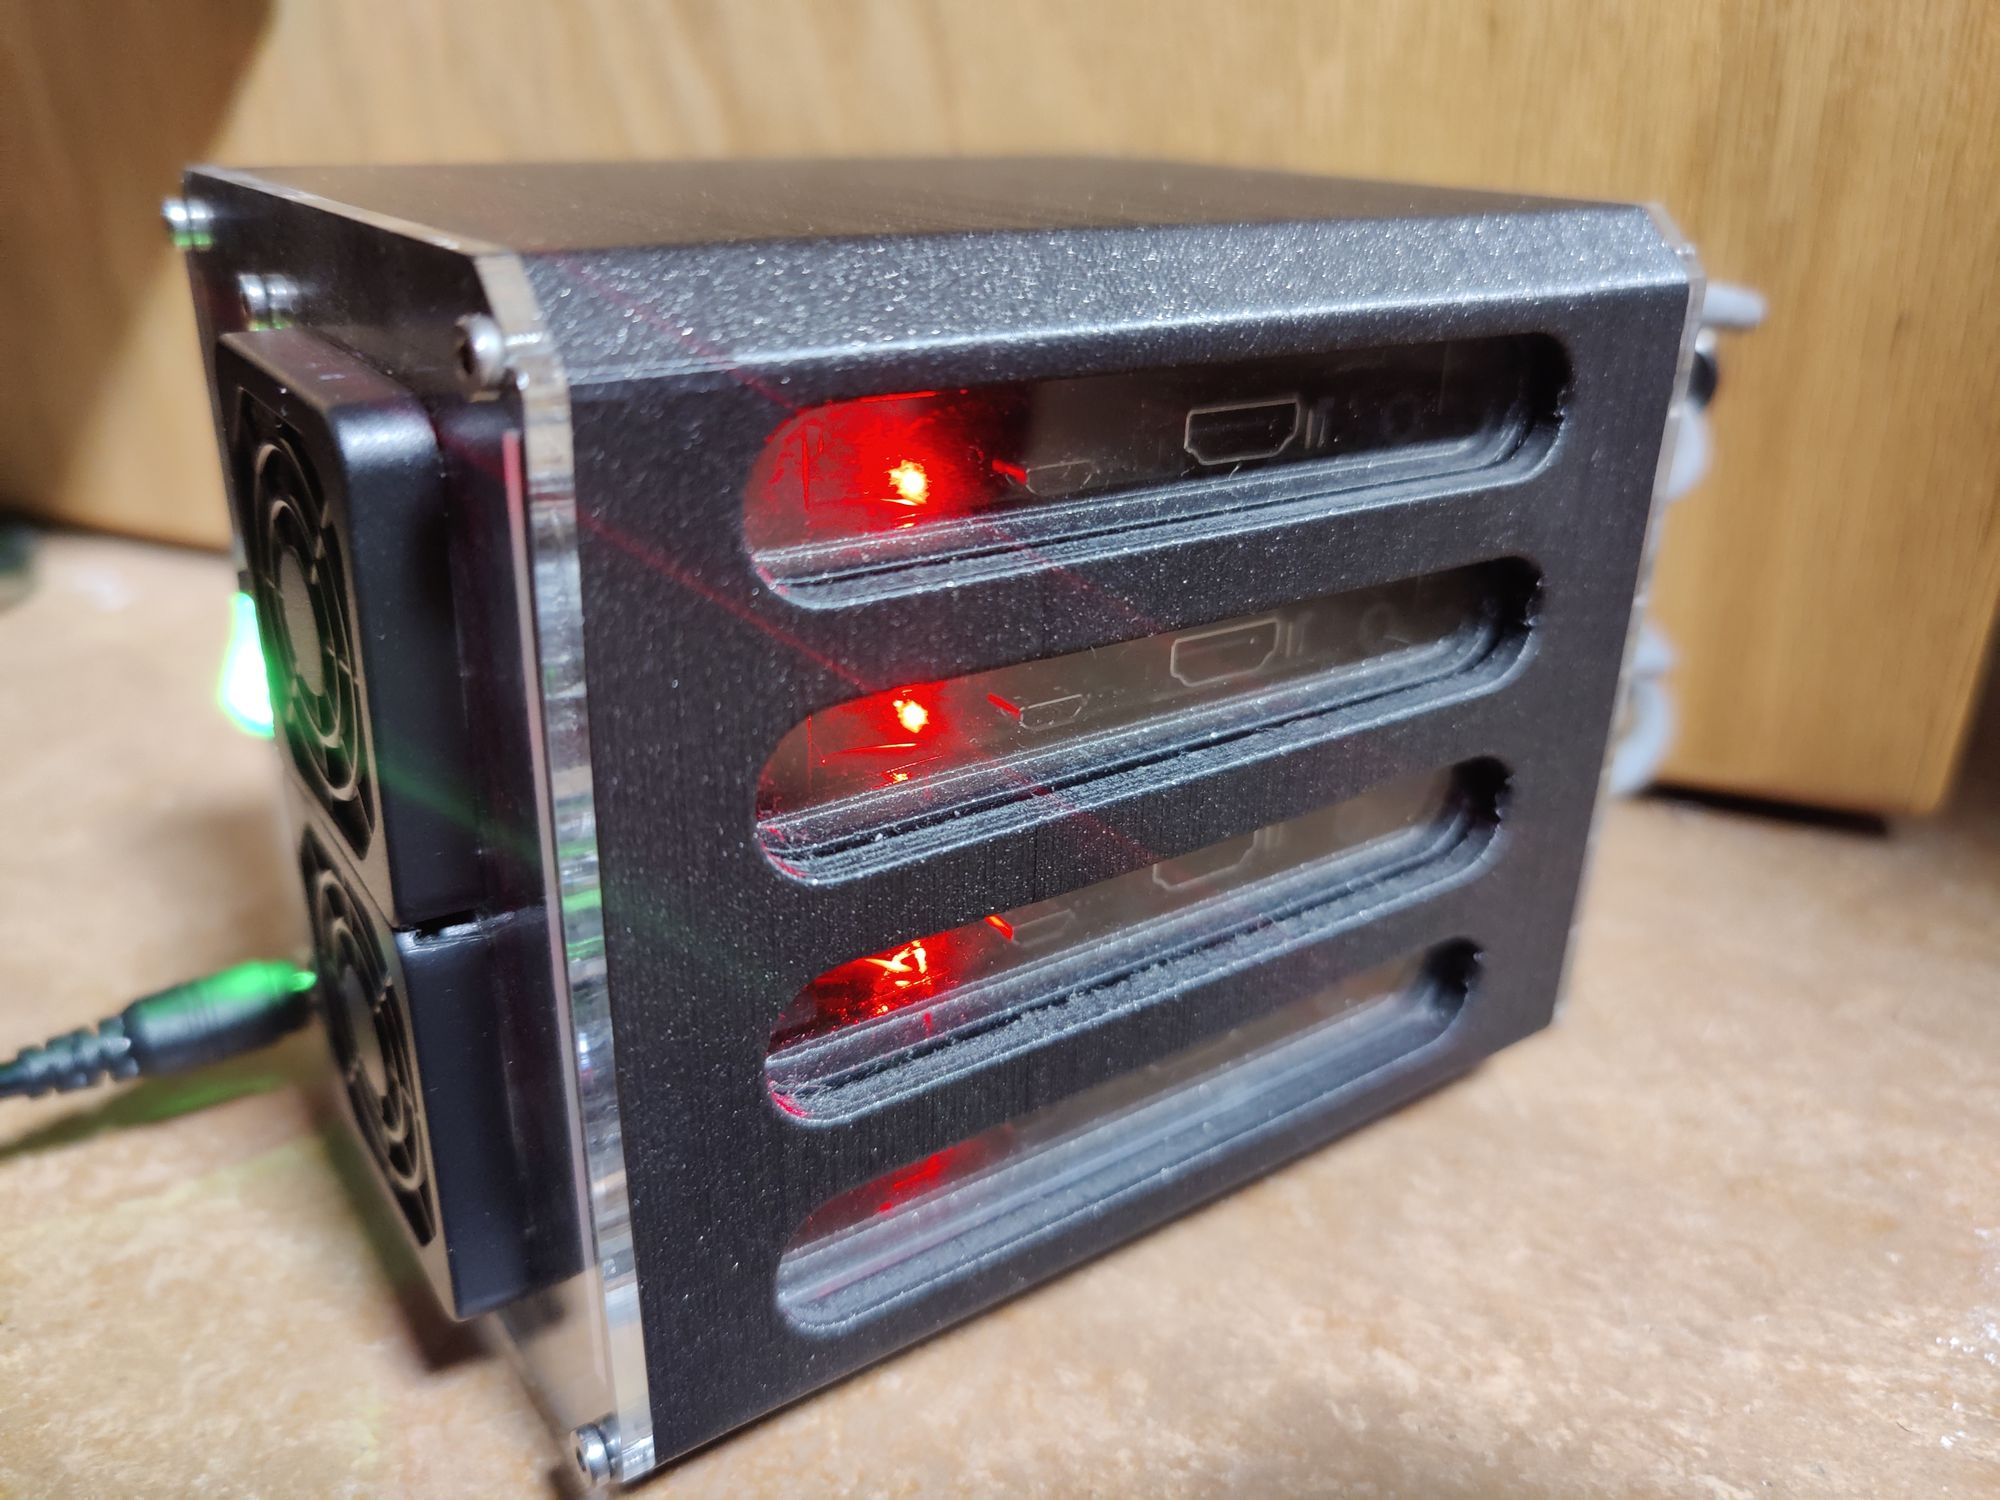
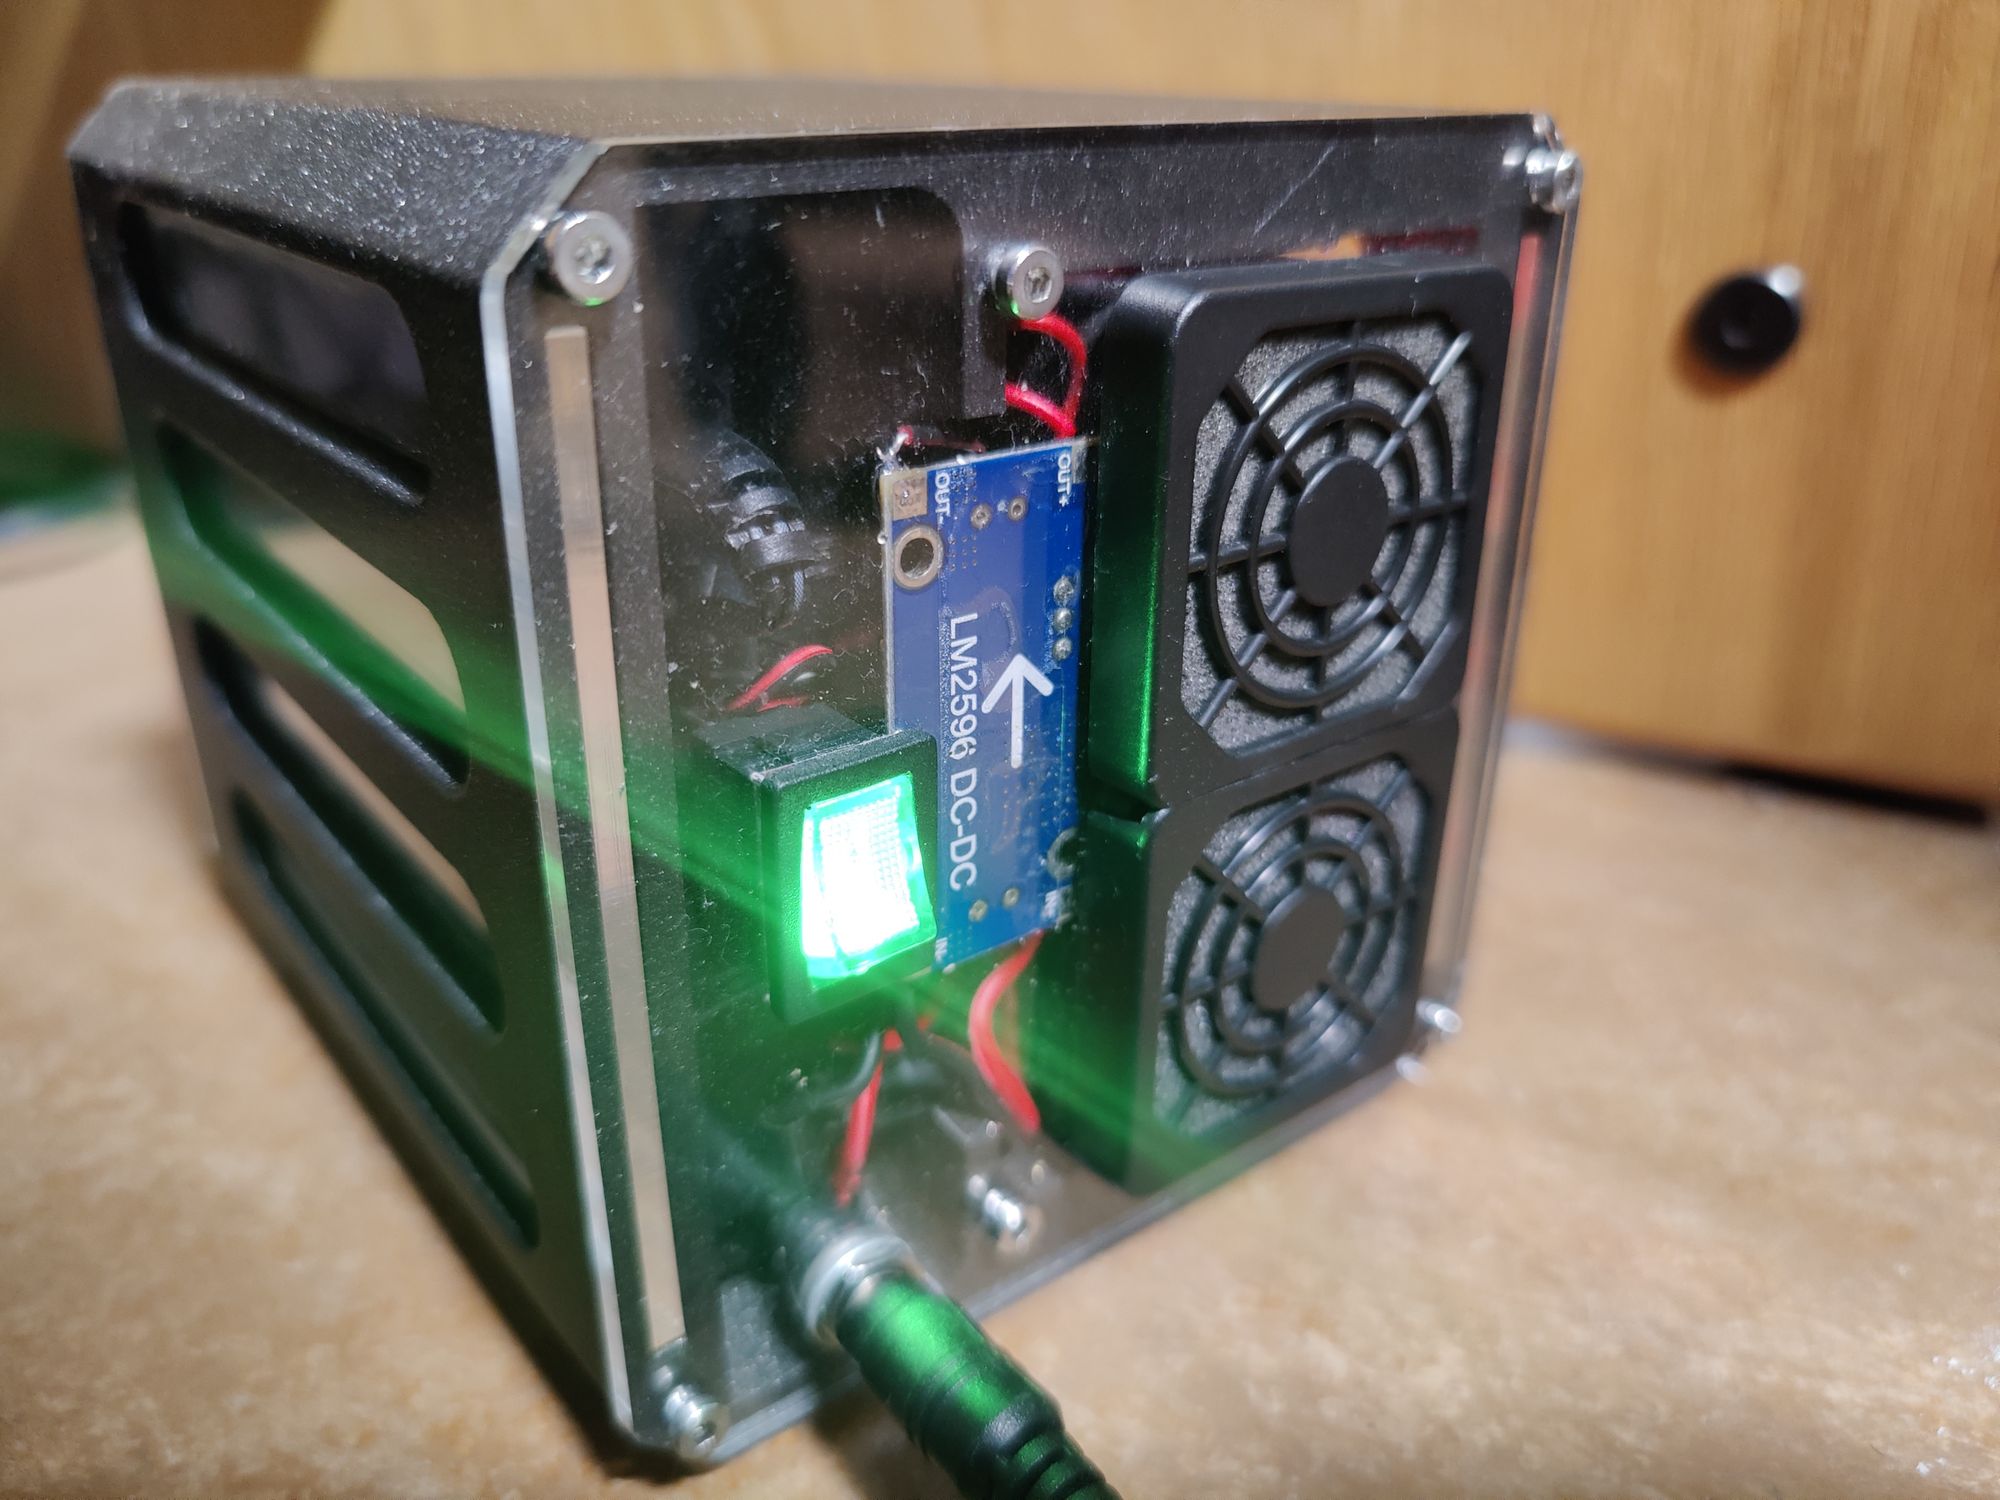
As seen in these photos there were some things added that I forgot to mention including the fan filters and power switch etc. Overall I think it came out really well and surprisingly accurate to my original CAD model.
So what do I actually use it for?
This is the main question that people are asked when you make these types of cluster projects is what people actually use them for. And to be perfectly honest there isn't really much you can do that you can't do on any normal server.

That being said, it was a really good learning experience and I am currently using my cluster to host a local PiHole adblocking instance and even the local version of this blog. All of the Raspberry Pi's are installed with Raspberry Pi OS running k3s, a stripped-down lightweight version of Kubernetes.

If you are interested in information to set up the software side of things, that is a bit outside the scope of what I can explain through the medium of this post, but linked below is an excellent video series by Jeff Geerling that I used as a basis to build my cluster off of.

This is a great guide for someone interested in setting up their own cluster from start to finish and I would highly recommend it.
Resources for building your own cluster
Here I am going to go over the basic steps and requirements for building your own cluster off of the design showcased above.
Requirements:
- x4 Raspberry Pi (2-3b+)
- x1 TpLink TL-SG105 Gigabit Network Switch
- x2 Sunon 40mm GM1204PQV1 fan
- x1 5v 5A Barrel jack power supply and female plug
- x1 Toggle Switch
- x1 LM2596 Buck Converter
- x4 6in Ethernet Cables
- x4 8gb+ MicroSD Cards
- x1 3-Way Screw Terminal
- x10 10mm M3 screws
- x8 25mm M3 screws
- x4 M3 Nuts
- Wire
- 3D printer
- Laser cutter if you want to be fancy
- Lots of patience
Below are the files that are needed to create this design. The assembly should be pretty self-explanatory just know that the 10mm M3 screws hold the panels to the 3D printed part while the 25mm ones and the nuts hold the fans. I have also included the files for the panels in DXF and STL formats if you do not have the means to laser cut them. The design should work just the same with them printed.
Caden Kraft Newsletter
Join the newsletter to receive the latest updates in your inbox.


